Replay Review #3
Our next replay review is something a little different – a houou lobby game from starfire, one of our resident 7d players, and brought to you by Niko and Feng, two of our other resident 7d players. In addition to identifying mistakes, this review will also comment on some finer points that our reviewers feel would be beneficial for tokujou players to pay attention to. You can view the game yourself here.
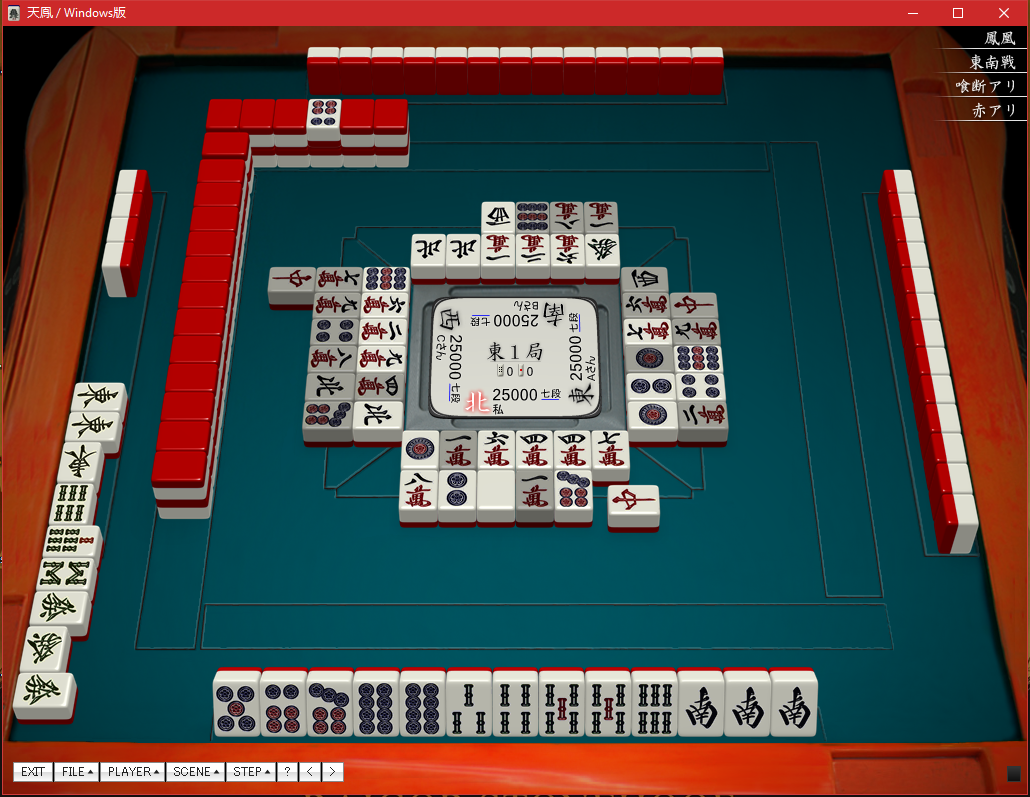
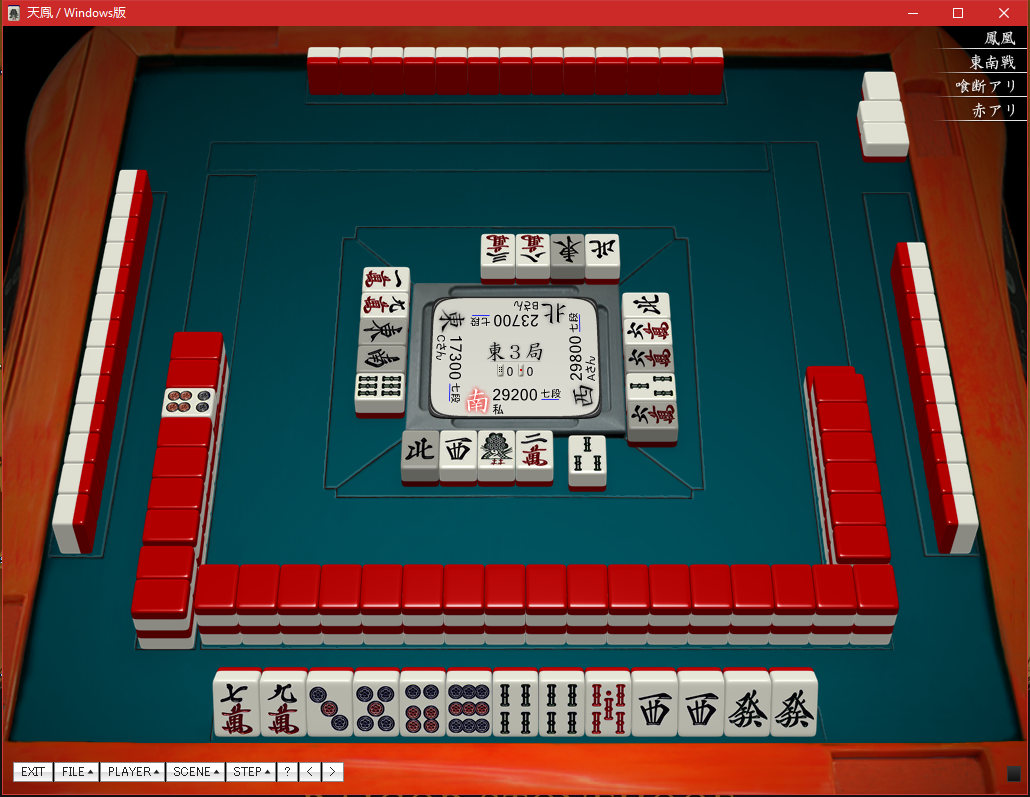
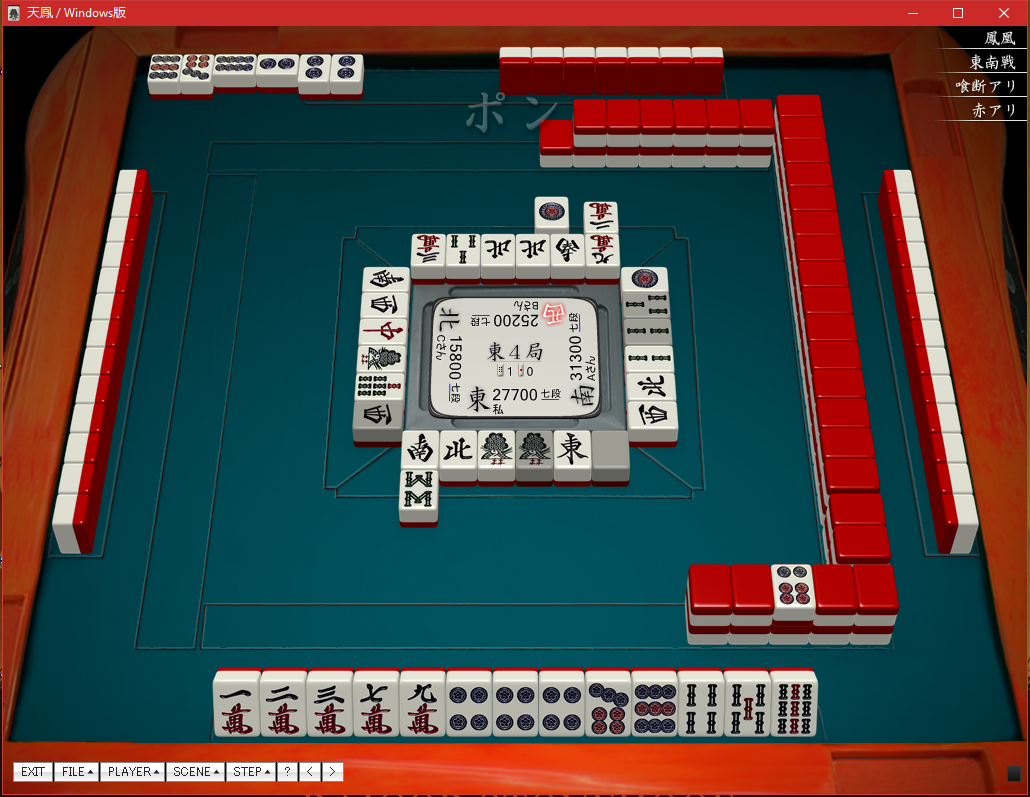
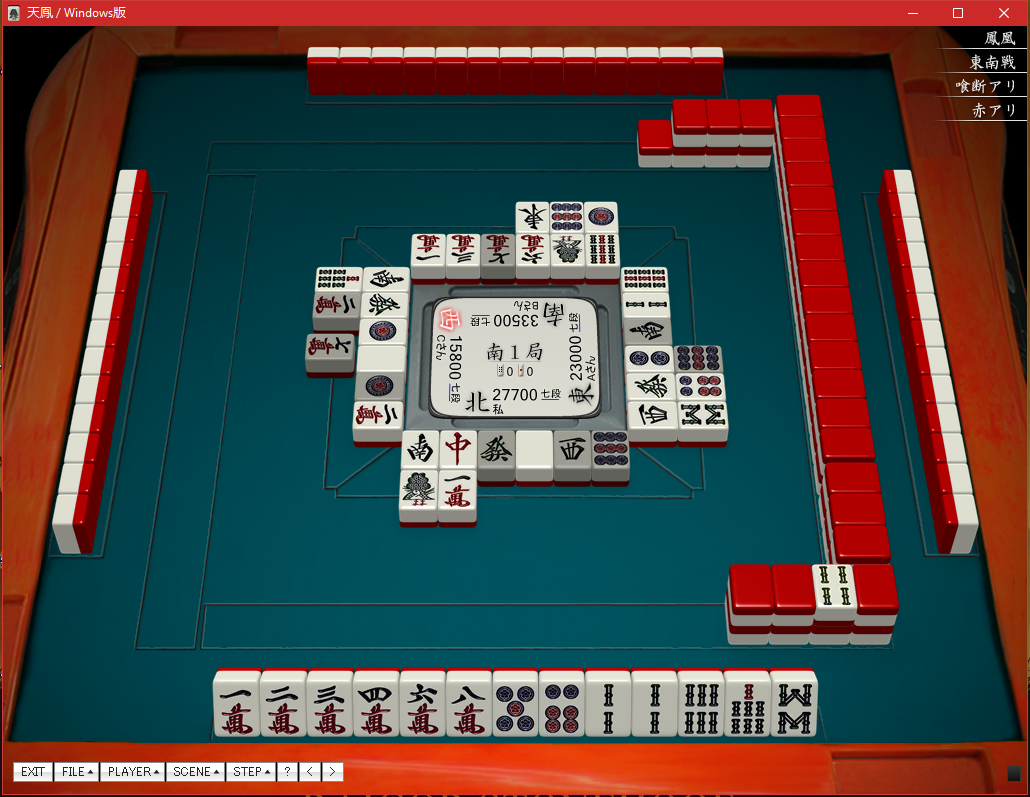
E1-0
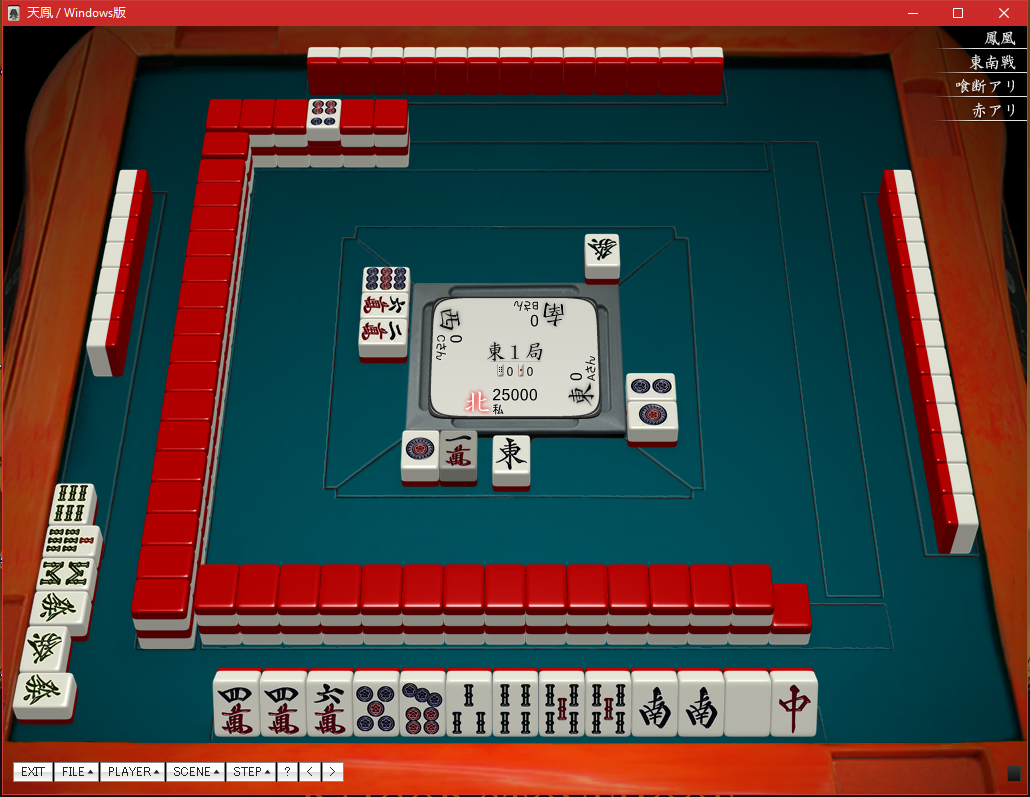
Discarding  third turn is perfectly fine, since at this point we don’t have that much information, however, after the following call this is the turning point of the hand. It is the perfect moment to realize when to realize to start folding, which he did, but I wanted to emphasize this point to a bunch of players who think, “It’s too early to fold” or something like that. It’s never too early, especially when your hand isn’t that good and there’s a big hand potential from someone else.
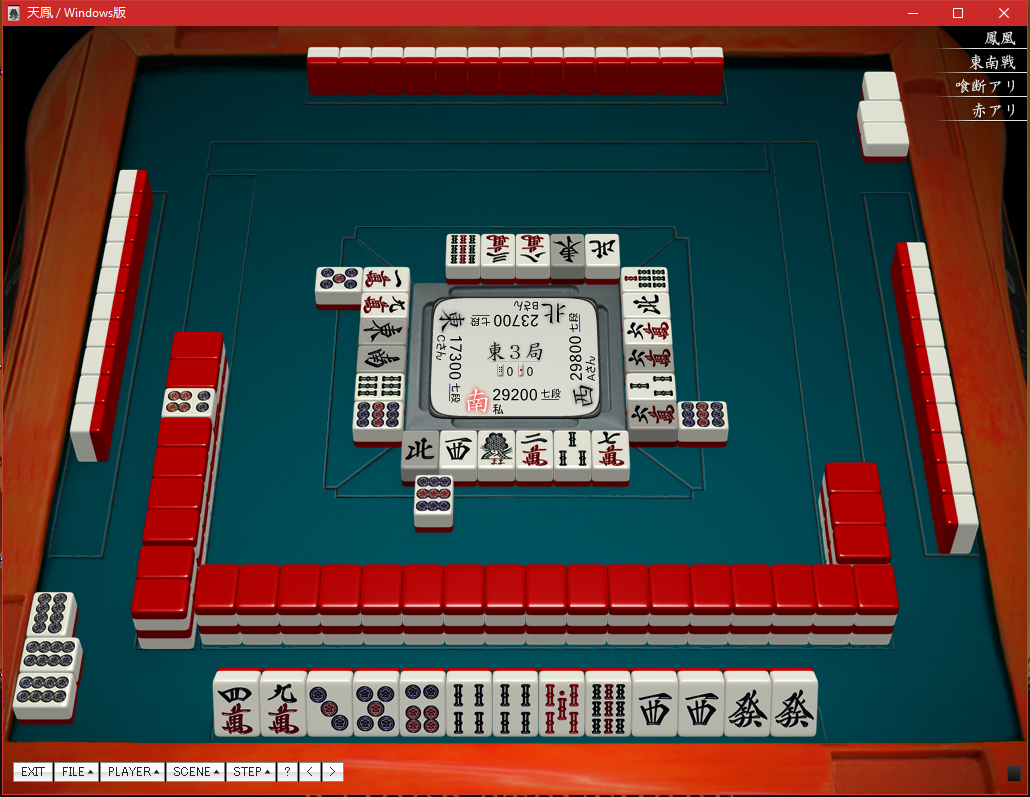
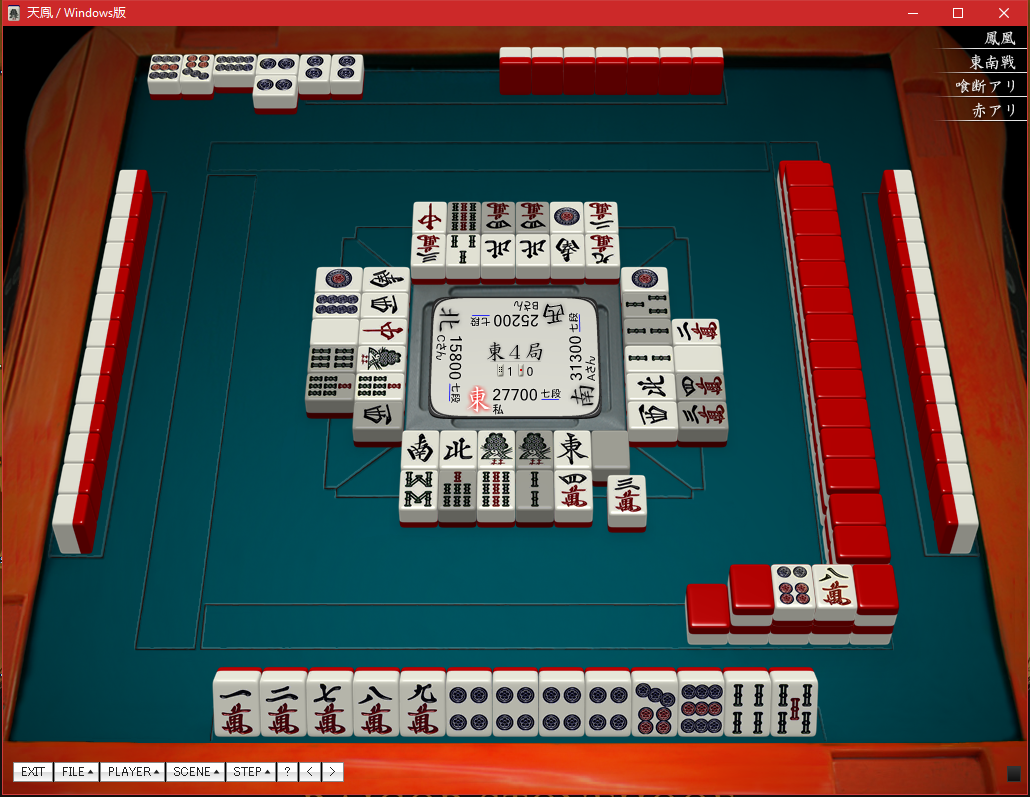
So what to do exactly? Hand is hinting honitsu at this point, even if we deal in something else it should be mostly cheaper, unless he has two dora, but at least we have to defend somehow in the most probable way so:

Even though we have good reason to expect a honitsu hand, just in case it’s something else you can discard whatever he already discarded (because we don’t really know if he has 2 dora or not at this point).
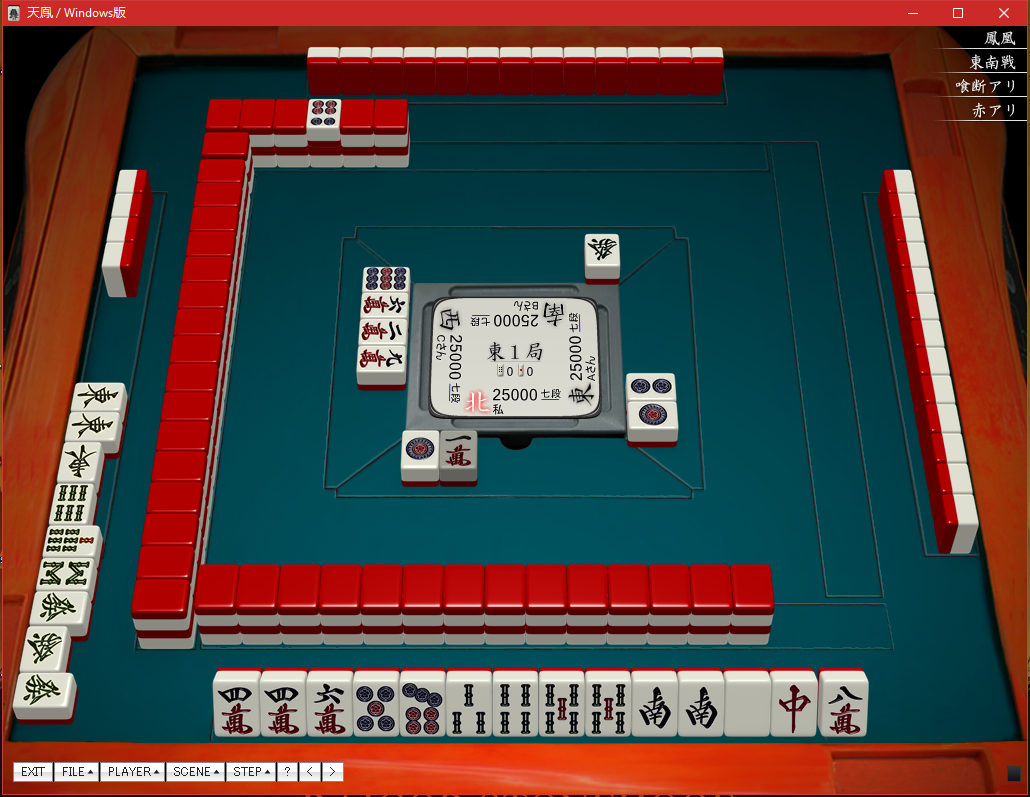
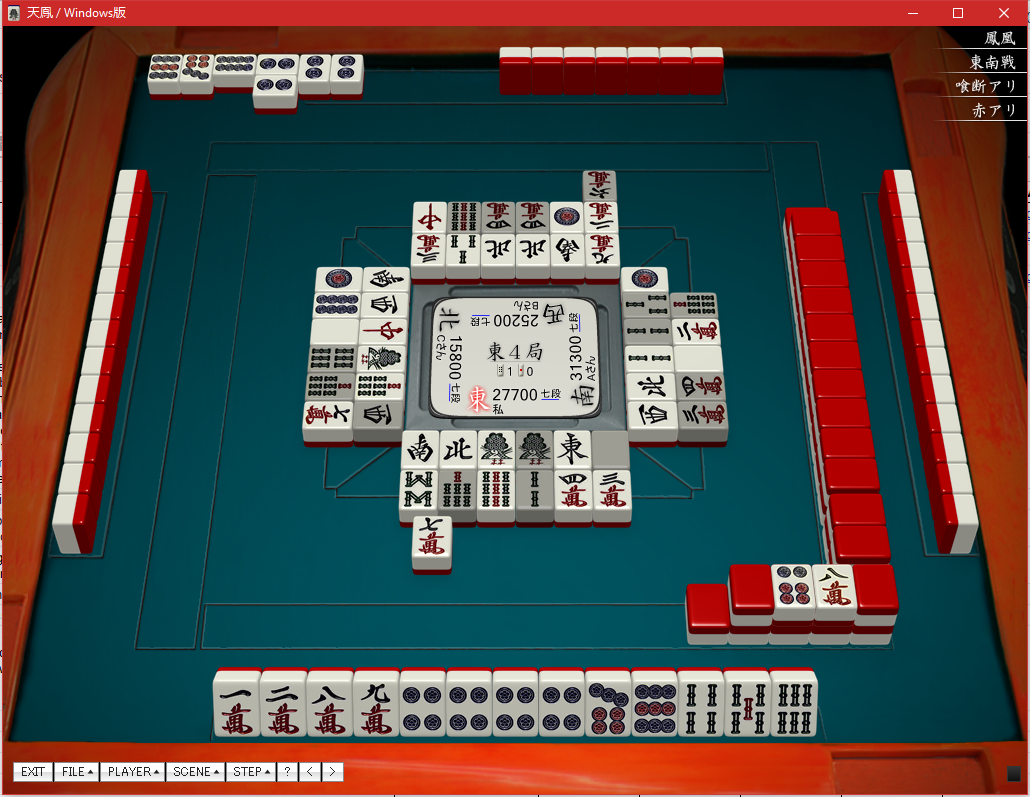
Even if we are 1-shanten with two dora, I find this to be too dangerous for Tenhou, as in Tenhou you primarily want to avoid 4th at all costs. It doesn’t really matter if it’s East 1 or oorasu, you need to be wary that you can end up in 4th even by dealing into one mangan, and sometimes it’s not even your fault. So we better be careful. Playing a tournament, where you want to take 1st place, risking is fine since you do want the win. Especially if you considered not discarding  later when he actually discarded a live
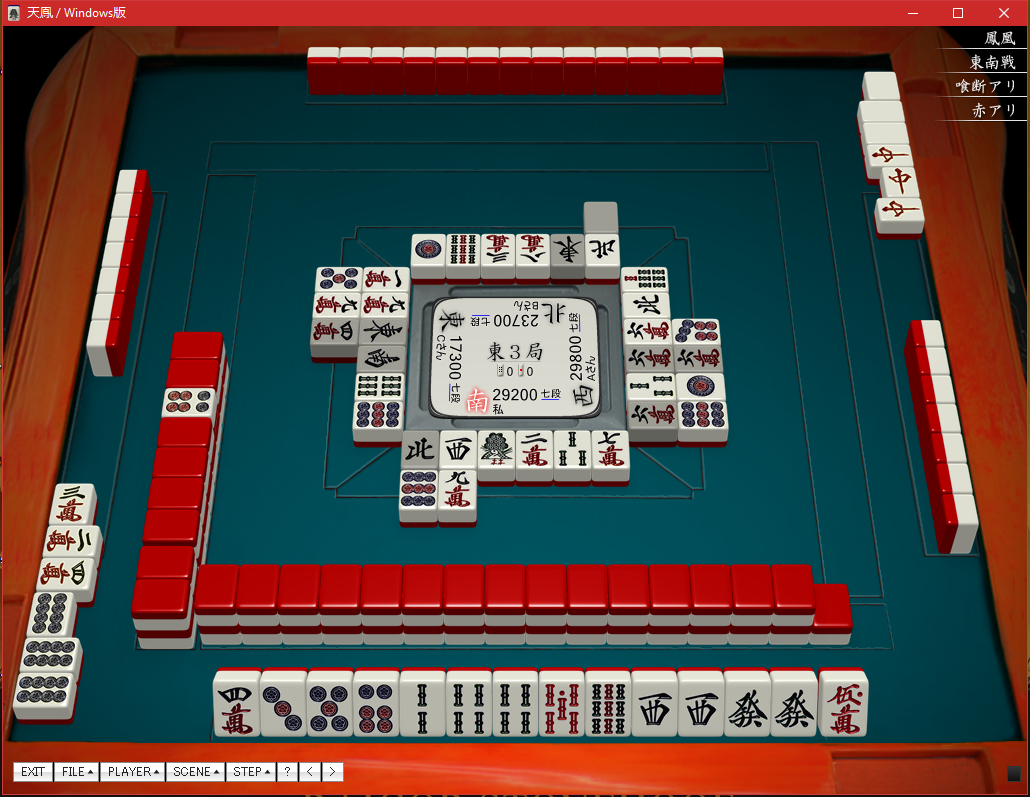
  as shown here:
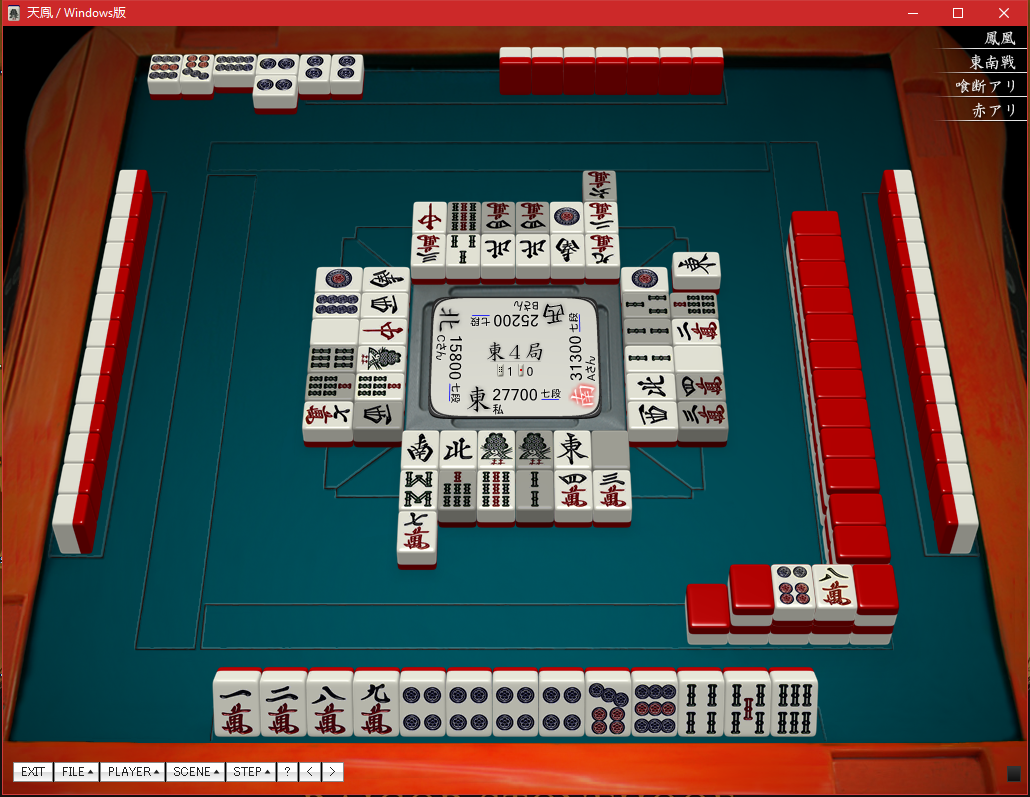
I perfectly understand he was wary of the dora, and after the dora was safe he discarded it immediately. I’d rather discard  , as he hasn’t made many changes to his hand, to consider a tanki possibility and even then it’s way safer than a live .
Riichi here is fine, I think kan should be fine here too, since you gain more of an advantage (uradora) than the West player, but not doing it is totally fine.
E2-0
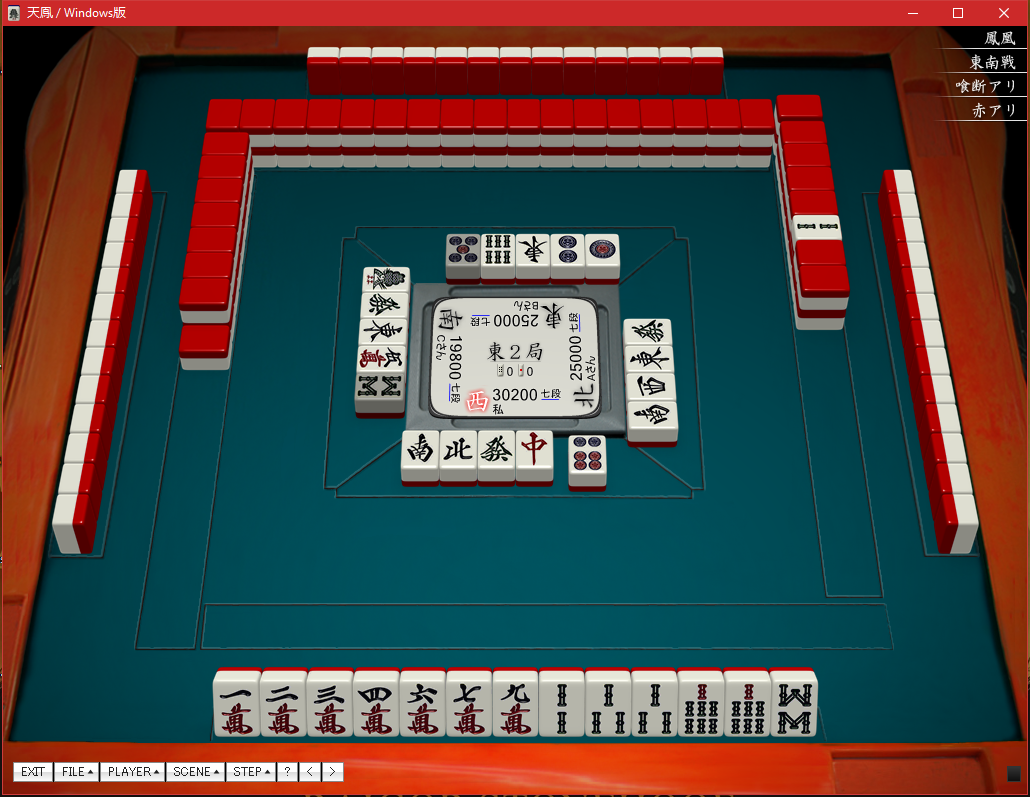
Having two dora and having possibilities like sanshoku and ittsuu I think it’s important to clear  early and keep your options open. By discarding the losses are
 , which really aren’t that much considering you have a lot of yaku potential (ittsuu mainly and can be also sanshoku or tanyao in some cases while you keep
  for sanshoku potential). Discarding anything other than isn’t that bad but discarding makes any other backfire less serious. Tanyao can happen but I wouldn’t force it or it could be very difficult to win a hand. In tokujou may not be that hard, but against high level players it will be much easier to win an ittsuu than a tanyao hand, especially since your left player discarded
  earlier, that he can probably discard again for you, and players would start to discard terminal tiles if they feel danger. Pinfu is not guaranteed, by discarding you lose sanshoku potential and by discarding
  you lose not only 1 han from the dora but 1 han from tanyao with and 2 han from ittsuu if you have to discard any manzu to complete the hand.
You have 2 dora, but I think prioritizing wait might be better considering that by discarding you’re mostly settling with ittsuu. I think  is better since if you draw or you should still be able to get a good wait thanks to the


 yonrenkei. Discarding a ryanmen wait at this point can backfire badly. Also if you get and get for example later you can wait on
  . The value with ittsuu is a lot higher but with this route you can still keep the possibility of ittsuu open until you get a . I only prefer this over ittsuu because you have dora and therefore value. Remember, all this above applies because you have sanshoku and ittsuu potential (forget tanyao completely) and because and
  don’t guarantee tanyao at all. If comes, call, the rest you might want to hold, because if someone sees call they might think tanyao is a possibility, however calling
  people will start to suspect ittsuu or sanshoku.
is another alternative at this point but  and are strong backfires. It’s even more important to discard at this point.
With dora 2, it is important to keep the options of melding available as much as possible. There are 2 potential yakus to look at: ittsuu and tanyao. The closer one is ittsuu but with one discarded and the dealer holding on to more manzu, this ittsuu is unreliable and therefore we need a as a backup for tanyao, and even sanshoku. Therefore, it is better to lock in the dora here with a discard. The discard is a bit wasted now as you might still draw in an ankou since its early the game and nobody has shown very strong signs of holding to many souzu.
It is also important to note the dealer’s discard now and prepare to sakigiri and  as soon as possible, making having a backup set on more crucial. This will be explained in detail in the next picture:
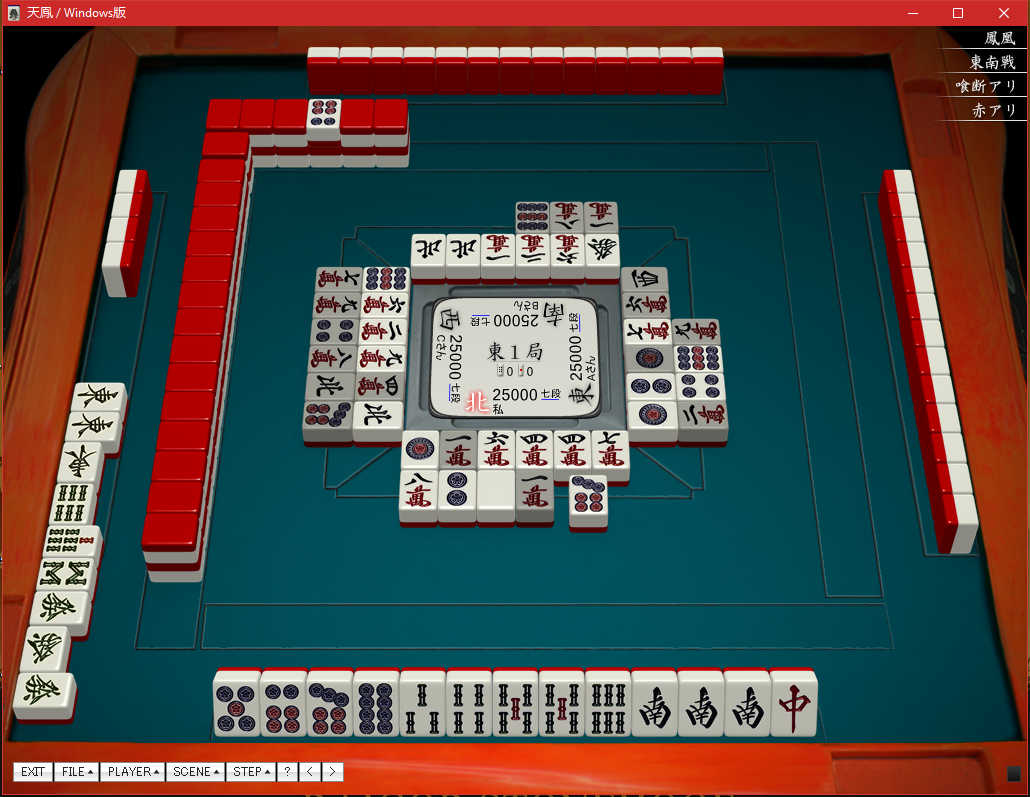
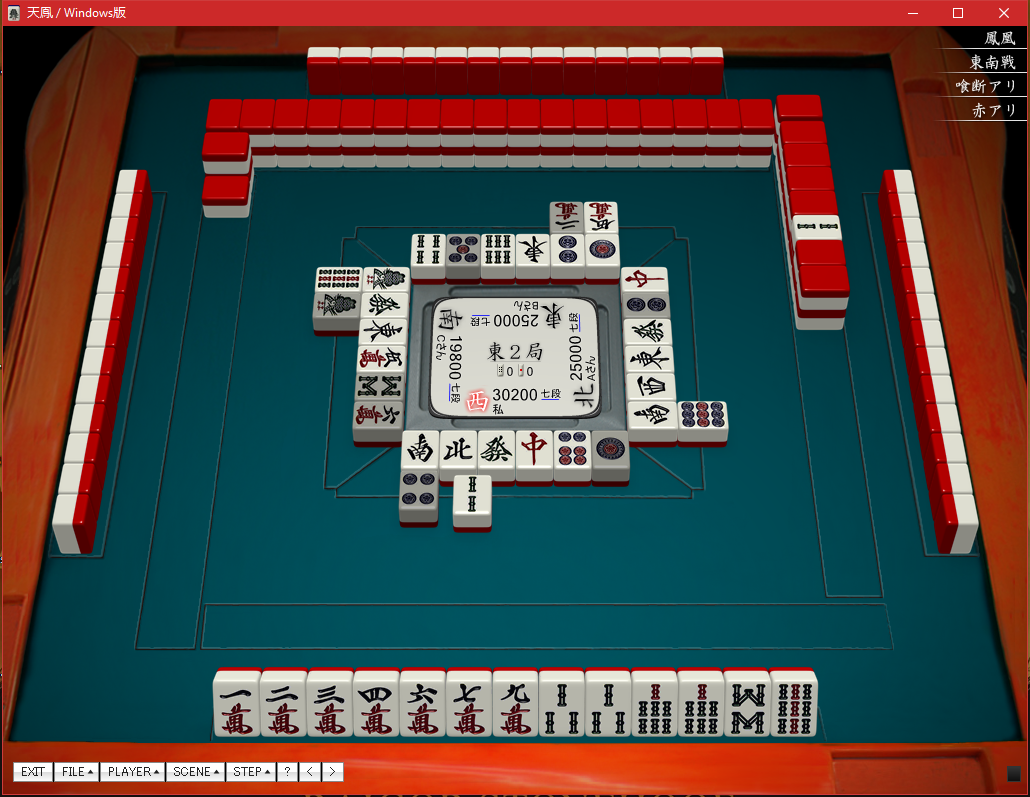
E2-1
Again a demonstration on when to actually give up the hand. He discarded 
 to get sanankou, but then he drew
  . Considering that at this point we only see one dora, the dealer is probably in tenpai, our hand is bad and on top of that to get to tenpai we actually have to discard a dora, I don’t think it’s worth pushing and it’s too much risk. So we discard the that just passed, that is 100% safe. can be a good idea too, as will be blockaded and therefore a safe tile to keep against a possible riichi later.

Considering we’re folding here I would discard first.
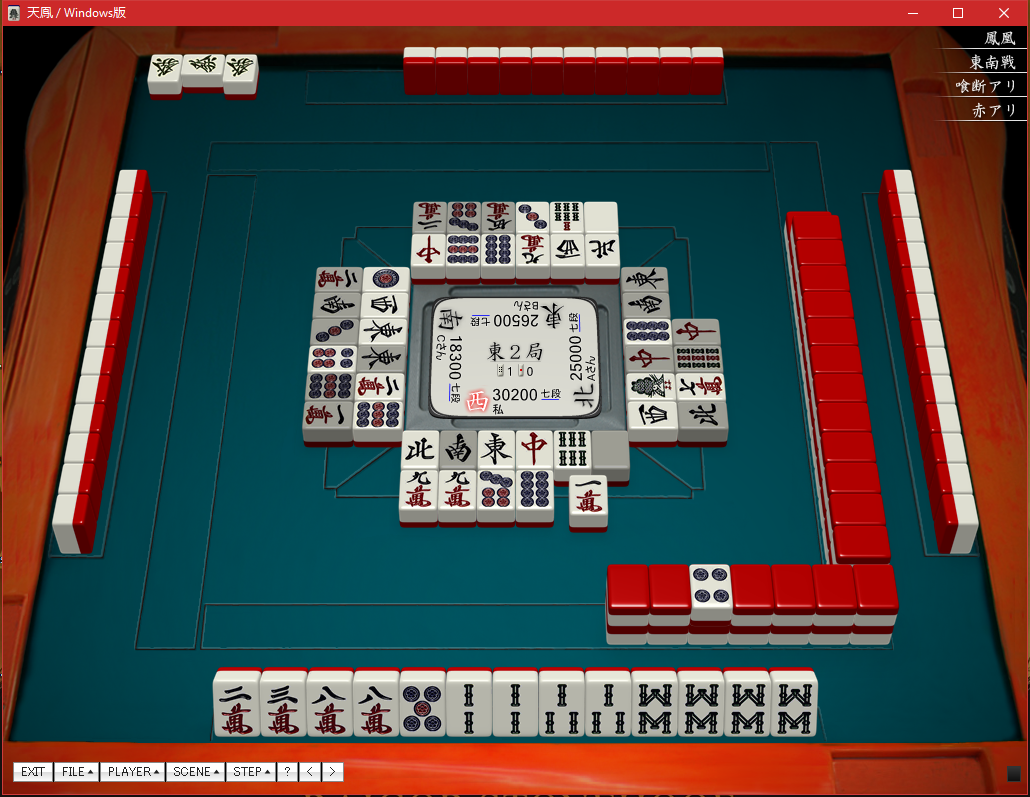
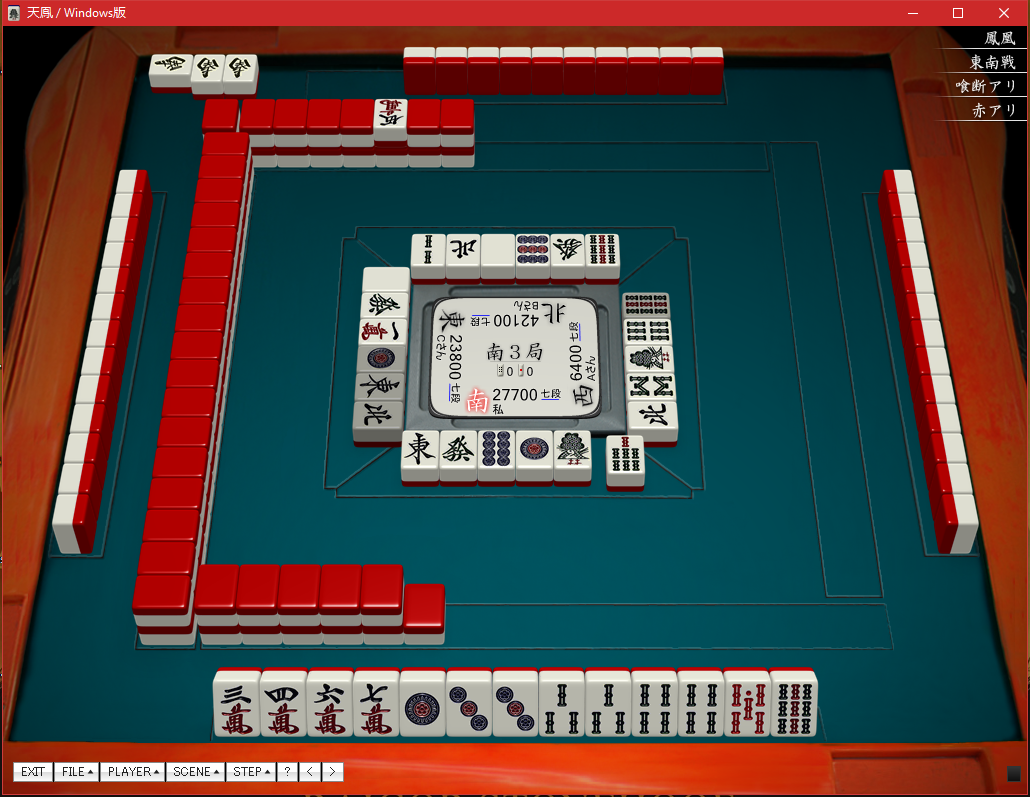
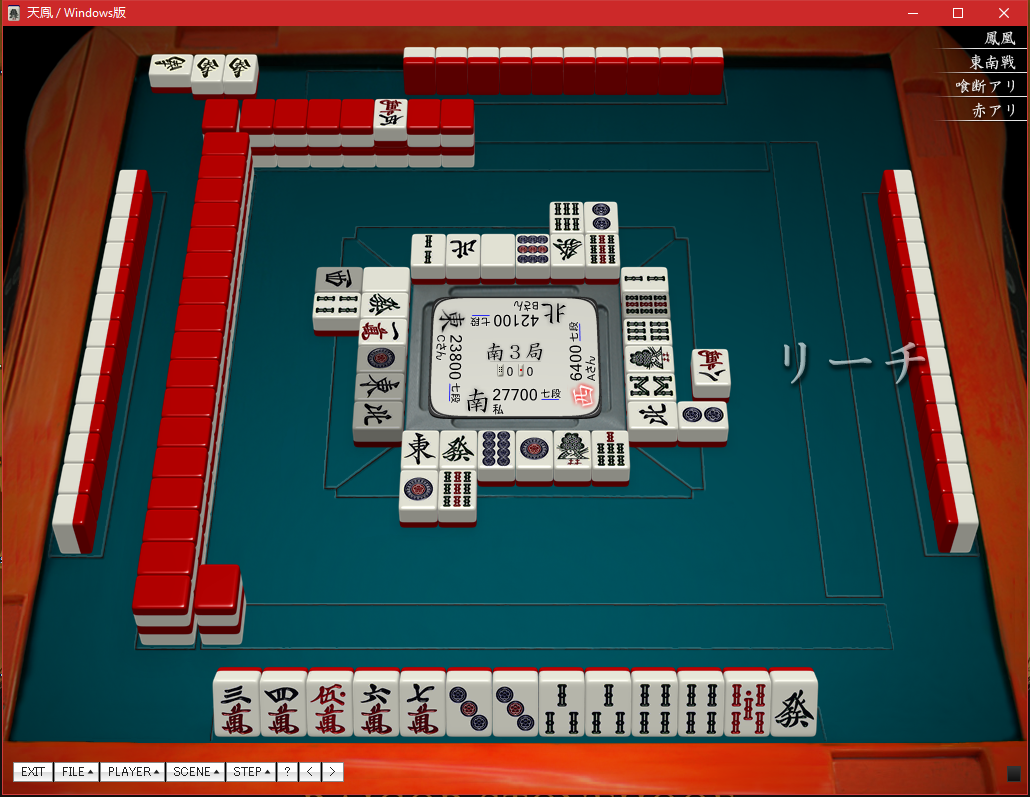
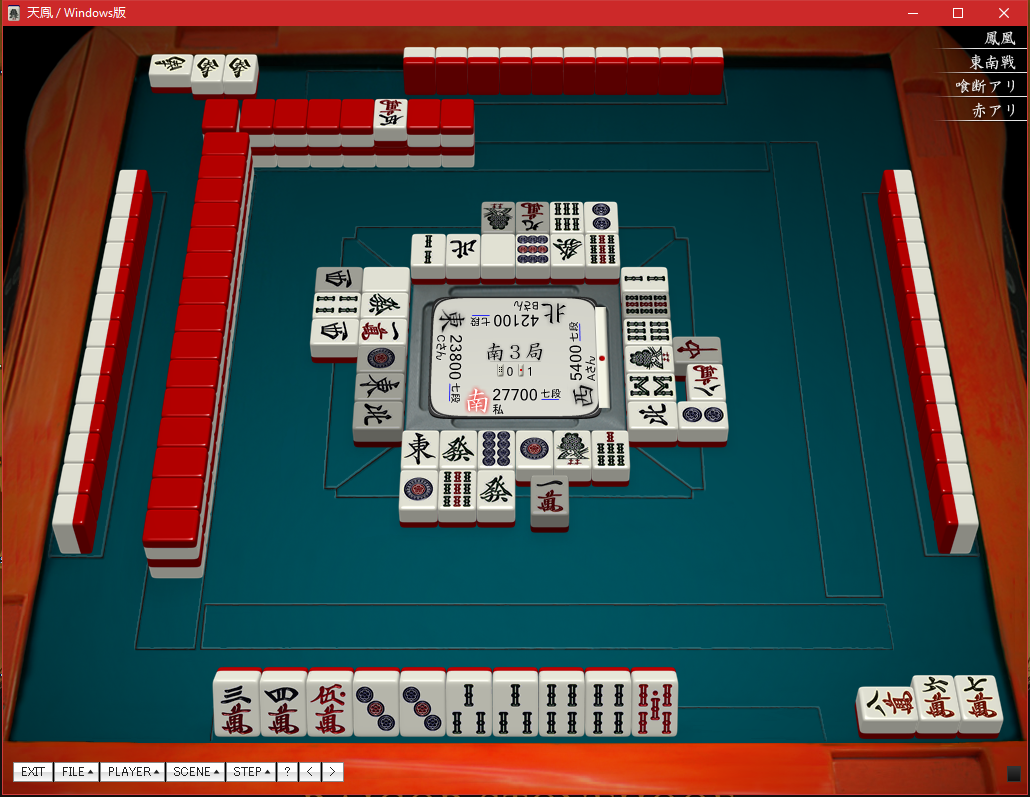
E3-0
Another perfect demonstration that it’s never too early to fold. Against what looks like an early pinzu honitsu (which is worse due to the dora being ), we shouldn’t even risk feeding him. Discarding a tile he already discarded is the best strategy, just in case it’s something else and he only early called because he had multiple dora in his hand.
Only when we know it’s safe discard,  . A lot of people will mistakenly discard saying it’s safe – even if it’s safe right now from ron, you might still be feeding him tiles he needs to advance his hand. You also don’t really want to discard since you don’t really know where shimocha’s hand is going right now. He might have toitoi, or a couple of dora.
At this point you have to keep in mind the dealer too. His hand looks like tanyao, so you might want to discard something that’s safe to both, and if it’s not totally safe, at least tile that might be safe.
You should also consider toitoi (we already kind of did by discarding only safe tiles or mostly safe tiles for shimocha), since a lot of pinzu tiles already passed. We have to be wary of the slim chance of both honitsu and toitoi, but mostly toitoi. Shousangen/daisangen are still a possibility since we can see only two  so we can’t discard those.
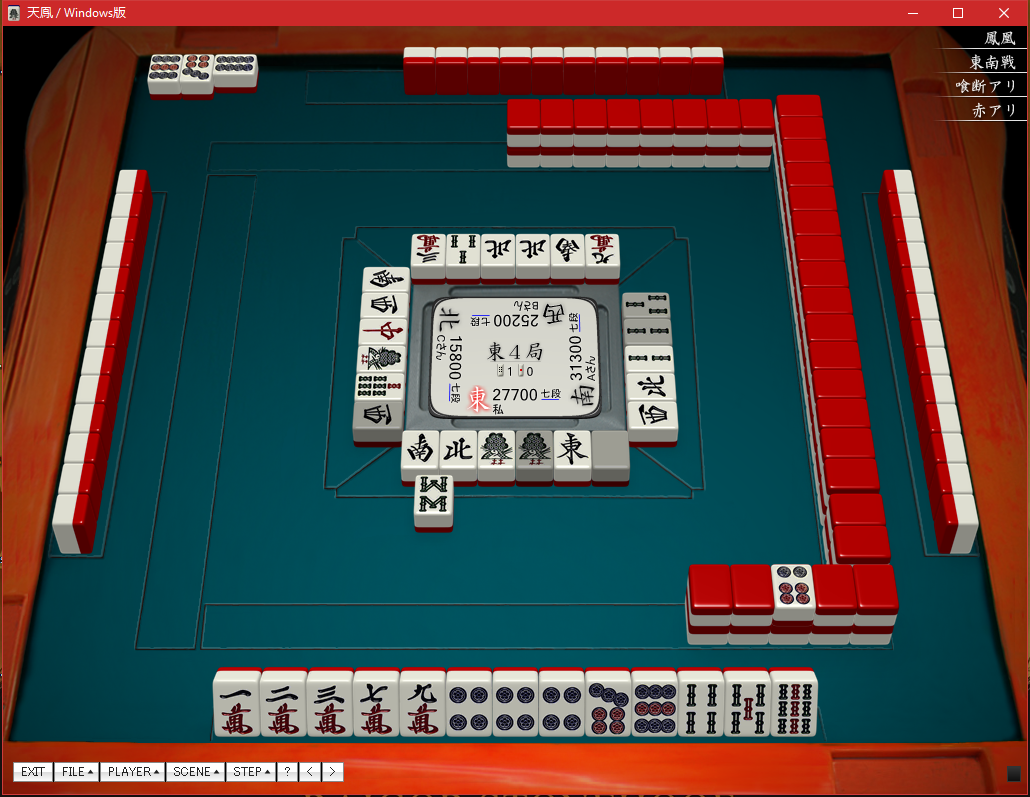
E4-1
First a couple of screenshots and things you might want to notice.
In these screenshots you can see that after he called , he discarded from his hand. How weird right? Discarding a ryanmen especially that early is weird, ittsuu is a possibility, however we have to be wary of something else and that’s made evident by the second call: honitsu/chinitsu. Even though at first it didn’t look like it since he discarded and  , he changed his mind after the call and discarded , at this point we should realize it’s enough and not pursue the hand any further like this:
And even if you’re in tenpai with a good hand, like the right player might be in this last image, this is a huge mistake from them, even if it’s not Tenhou, since you’re in first place.
S1-0
Great call at 9th turn to get to tenpai, calling the bad wait and getting to an easy tenpai with a good wait, even though it’s cheap. You don’t have many tiles to defend with at this point so you might want to try and win it fast. This is a good example of when to actually call for a cheap hand rather than pushing 2-3 calls with bad waits for a more expensive hand and risking getting up against a riichi with no safe tiles.
S2-1

Calling is fine since 2 calls for 3900 even if it’s not that good of a wait is fine. We have to be really wary of our left player but we can still push a bit.
Feng: One key take away from this chii is that, unless drawing , this hand is better off dama. It is quite possible for this hand to end up with a dora wait. Because it is now a rather high score gap between 1st place and 2nd place, the benefit of winning this hand is low (Niko: however it is important to not get last in Tenhou so I’d try to win it fast before last place can do anything). Yet, one cannot remain passive and let 3rd place win this hand. Therefore, not only does this chii allow you to be defensive, it also allows you to go on offensive as a chii will be rather easy. Then you will still end up with a dora wait, except that you don’t have to commit into a riichi.
On a side note, if the next draw is , it is totally fine to discard to further speed up the hand.
S3-0
This shows the importance of discard order: do we really need that kanchan wait? Not really, since  is mostly safe for two people we can discard and then get rid of
  before it becomes dangerous. It’s safer than because we have two
  already and it’s only two chance for ryanmen. Even if we draw it shouldn’t be that great of a loss, and it may happen with a very small chance that’s it’s not really worth it. You already have three great shapes.
And here when someone does riichi you already have a safe tile with a hand that’s 1-shanten and you can even call if it comes out for tenpai, or even play dama if you draw  or . At this point you already have mangan and it’s safe against the right player so it might come out. It’s not really worth riiching in Tenhou since you actually don’t want to get last, and it’s more important than catching up to first place.
This is a bit dangerous, however with those weird discards, we have to be a bit wary of any toitsu, (for example discarding before  even after discarding ) But we don’t really have any 100% safe tiles so we should try to win our mangan hand.
S4-0
I don’t know if it’s really worth folding this from the start, especially destroying a shape, since there isn’t really any danger of coming last (which is most important here). However I would try to read what’s going on, especially with your right player and fold if it starts to get really dangerous, or keep a couple of safe tiles for him. I think it shouldn’t he that bad to push a bit since it’s not likely to get last place anyway if your right player riichis and you defend. This hand is fairly bad though it has decent shapes. The only problem is that it will most likely end with a cheap hand even if we get pinfu, and all that said we shouldn’t try to riichi this hand since we could still get last, and we can’t get first either unless we get ippatsu tsumo pinfu dora 2 or something like that, which is very far from our hand value.
Feng: Lack of information that you can leave 3rd place alone and not win a mangan. He did not discard any dora so far. Hence I would advise to force a dama hand here by discarding either or while keeping safe tiles. I would prefer aiming for dama pinfu and discard . Hopefully this help to feed shiomcha, which is beneficial for the player.
Overall Comments
Some really strong and solid play, with a lot of pre-emptive defensive strategy that paid off. There was some quite aggressive play in East 1, but that early in the game there’s always opportunity to recover from losing points.
And that concludes this replay review! As always, please feel free to keep requesting reviews through the request form – players of all levels are welcome!
What a great insight into Mahjong strategy at higher level. Thank you!
kvJIGRtDELvJVIHAZ