Replay Review #4
Today’s replay review was requested by eggcage, who was 1-kyuu at the time. The review is brought to you by Corak, Tenhou 7d and runner-up in the Mahjong Soul Catfood Bowl Tournament. You can view the replay yourself here.
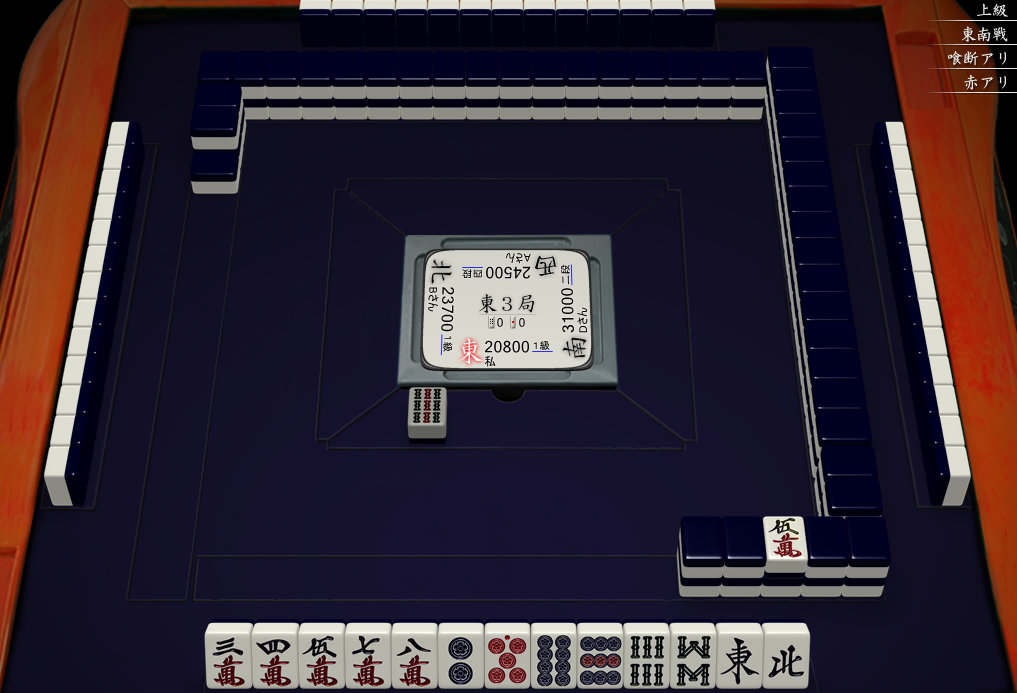
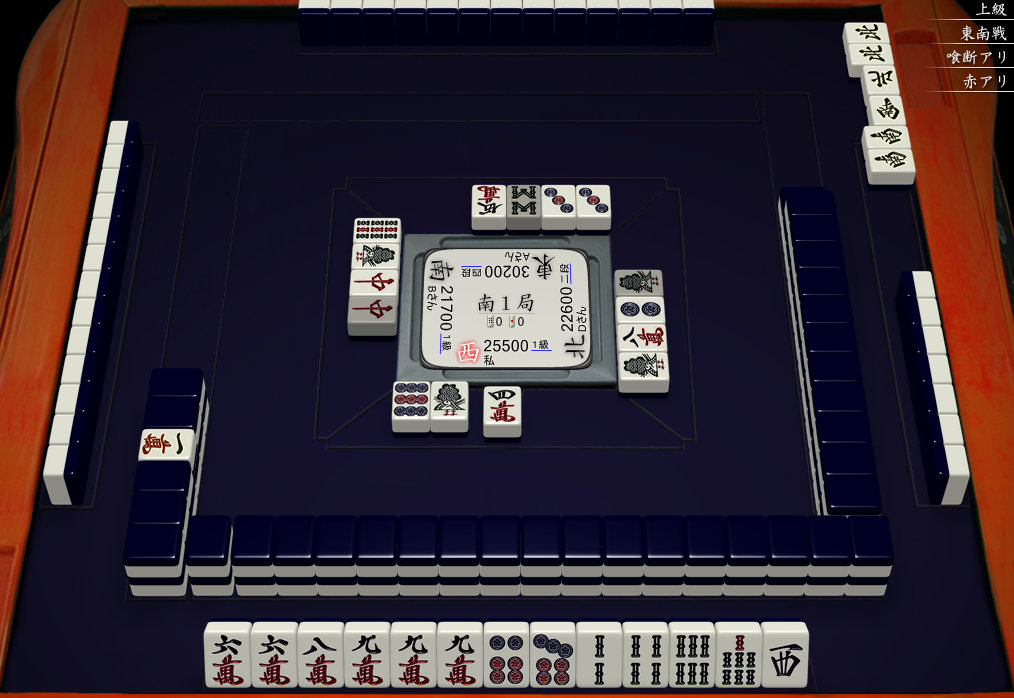
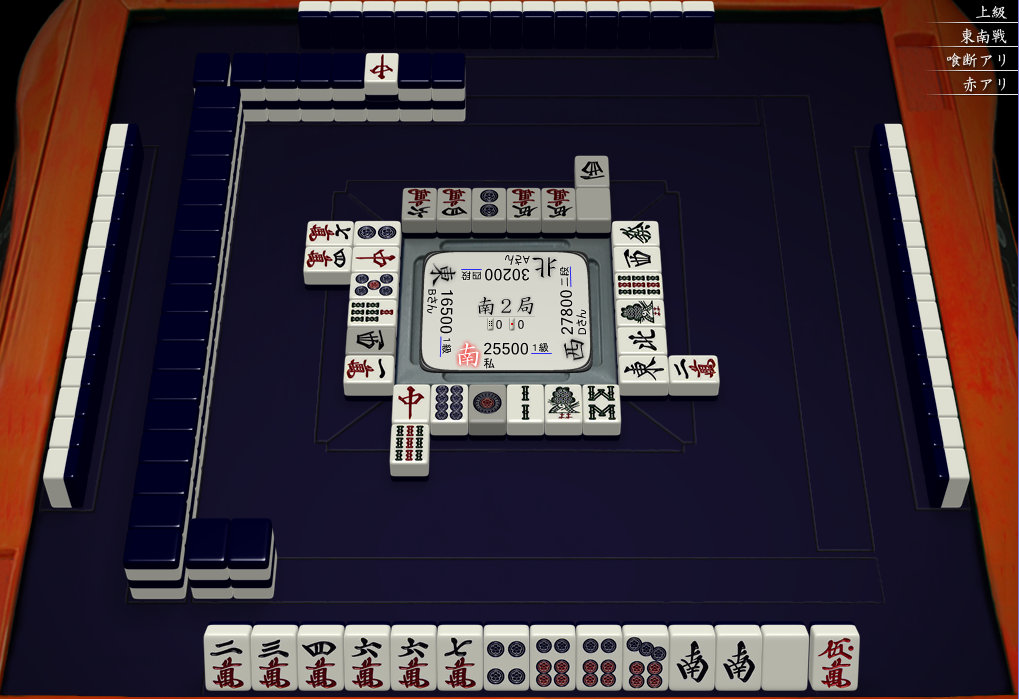
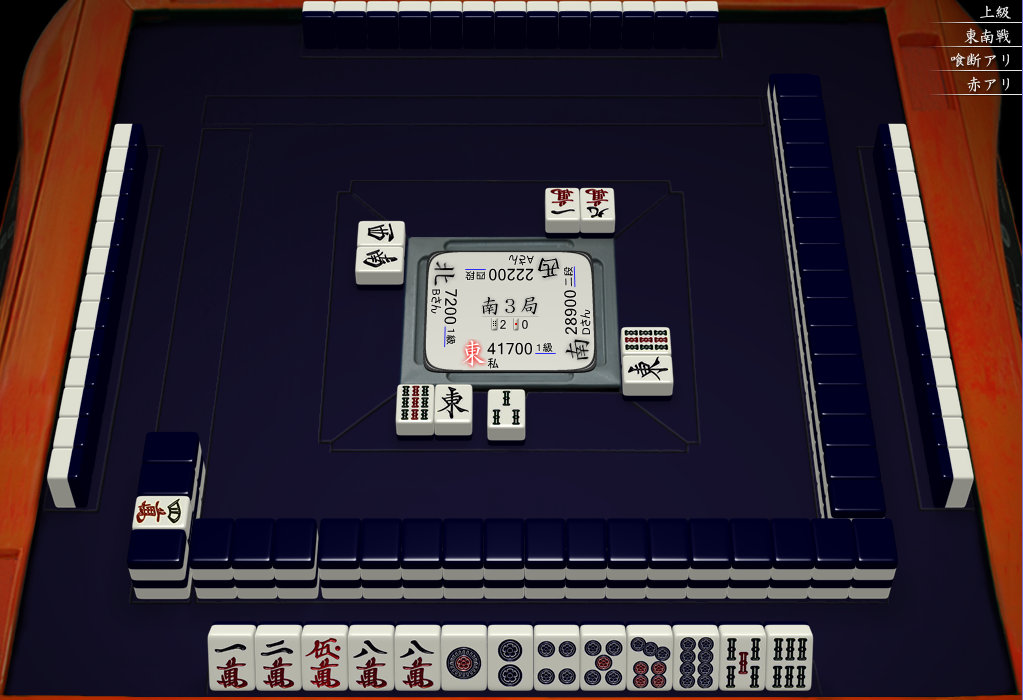
E1-0
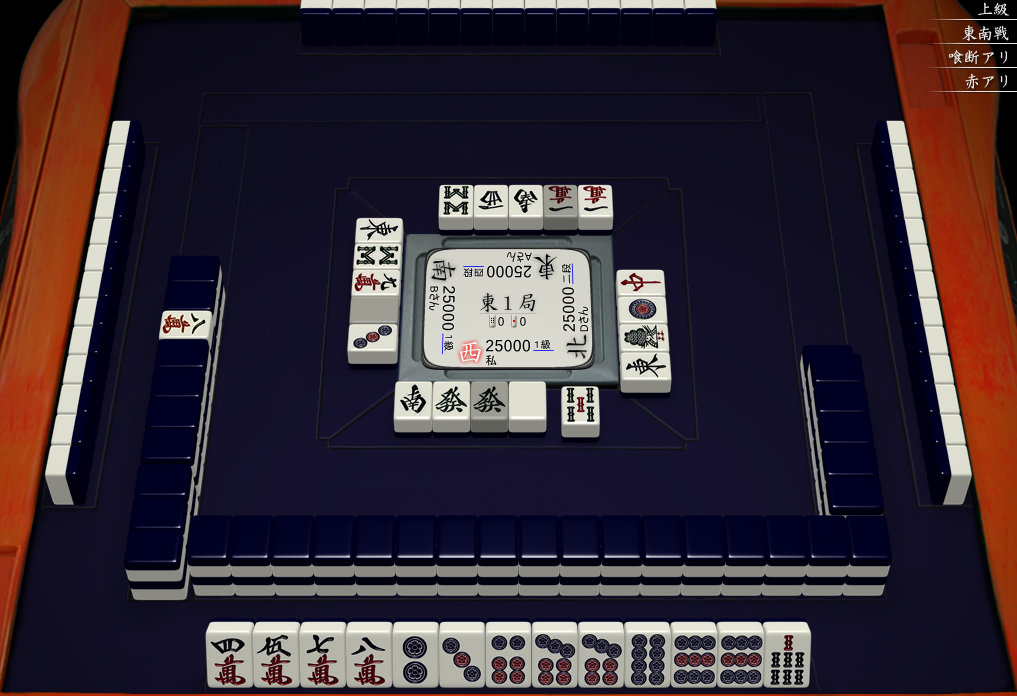
In terms of pure speed you would normally throw the  right back, but the iipeikou can be tempting. There are a lot of options here, but without another pair just throw the and keep the hand moving.
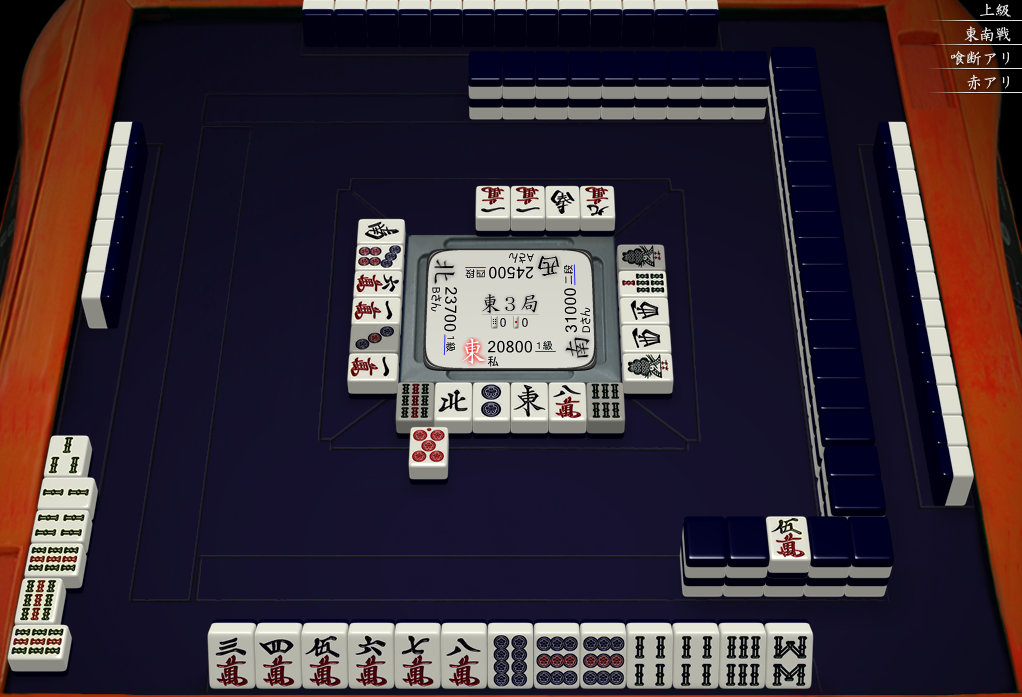
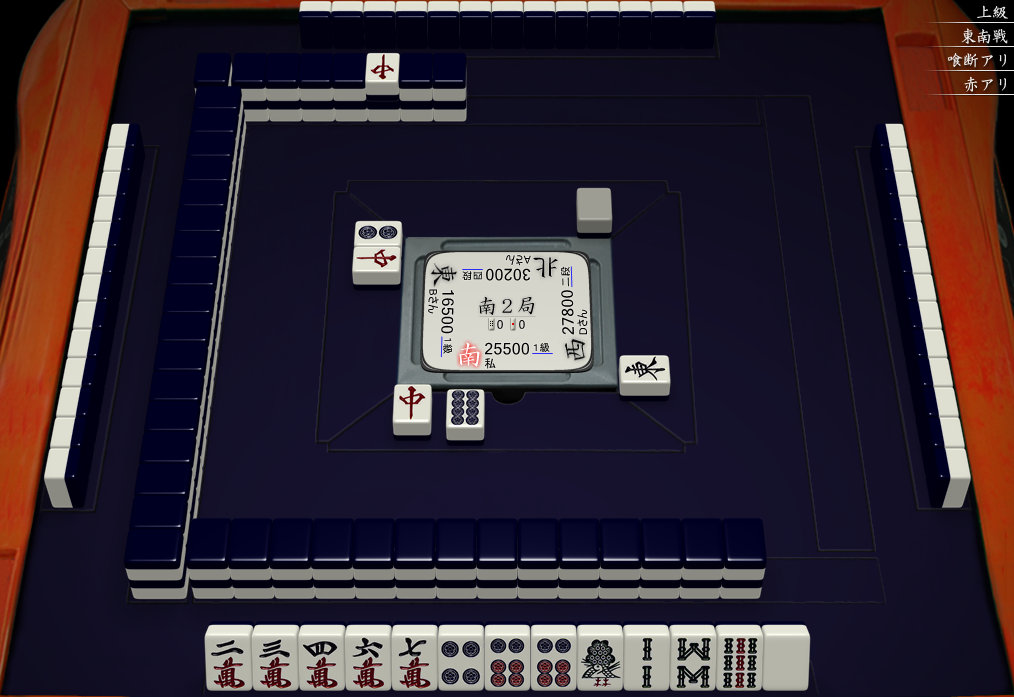
E2-0
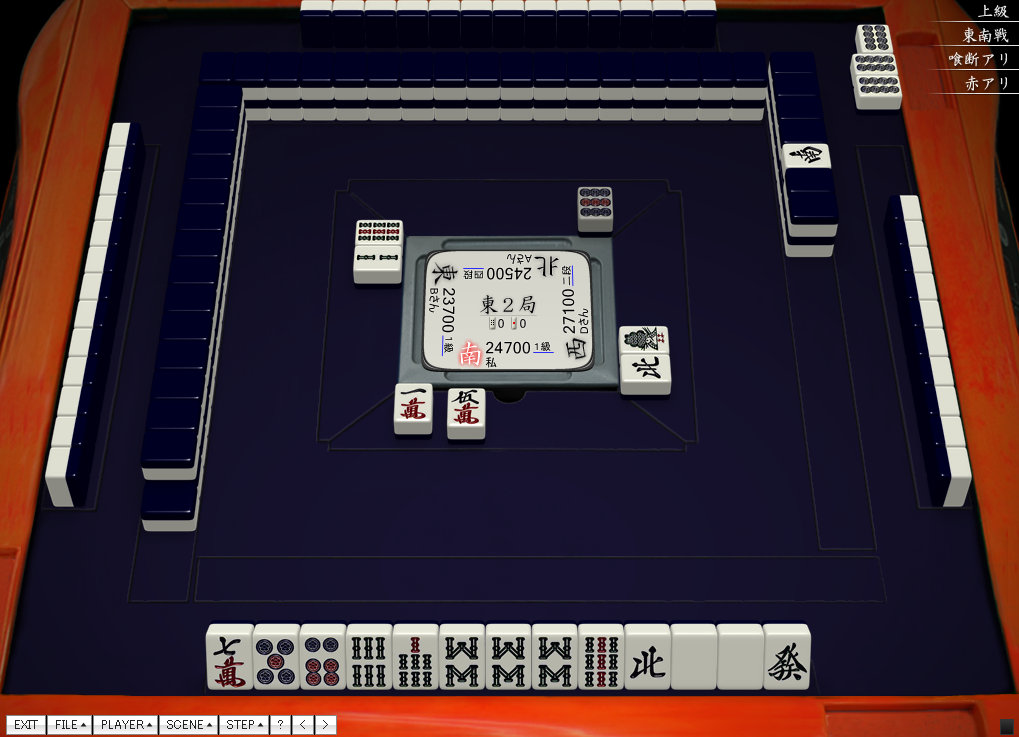
This hand already has good shapes and there is even a chance for a 567 sanshoku. Rather than commit to honitsu just throw the  for now. If you draw something that connects to what you have then you can go for the honitsu, but right now this seems just too far away. There are really only three blocks right now if you are planning on breaking up
 and
and 
 .
.
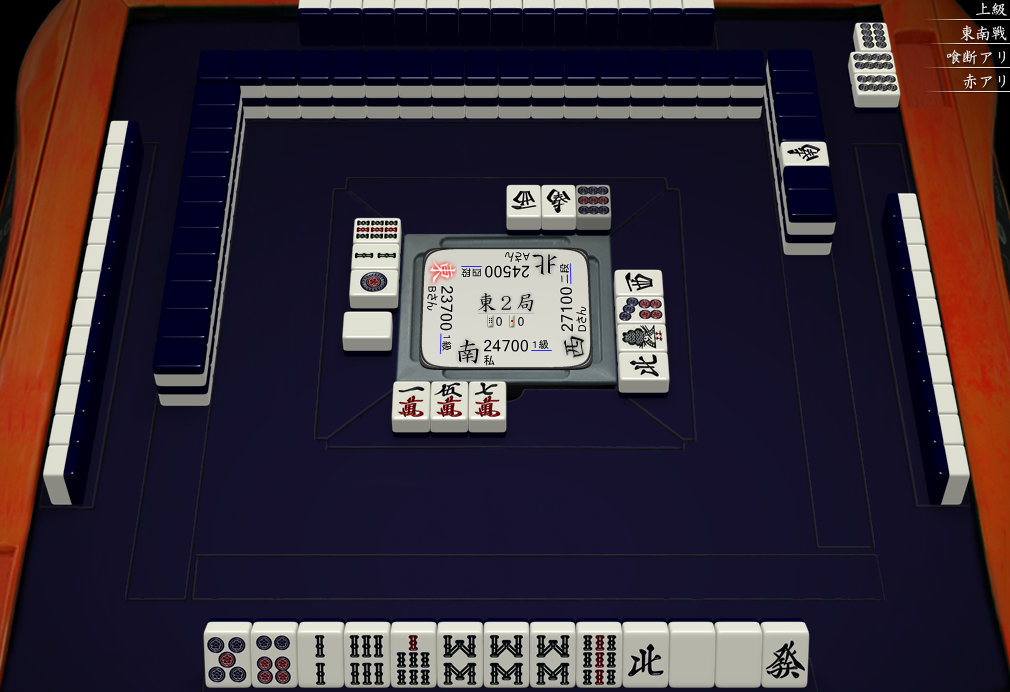
Since you have decided to go for it, you should take the pon here and throw . If you hadn’t already cut the you would have more options. If you decide you want to lock in the and focus only on speed you would still have to call and instead throw the .
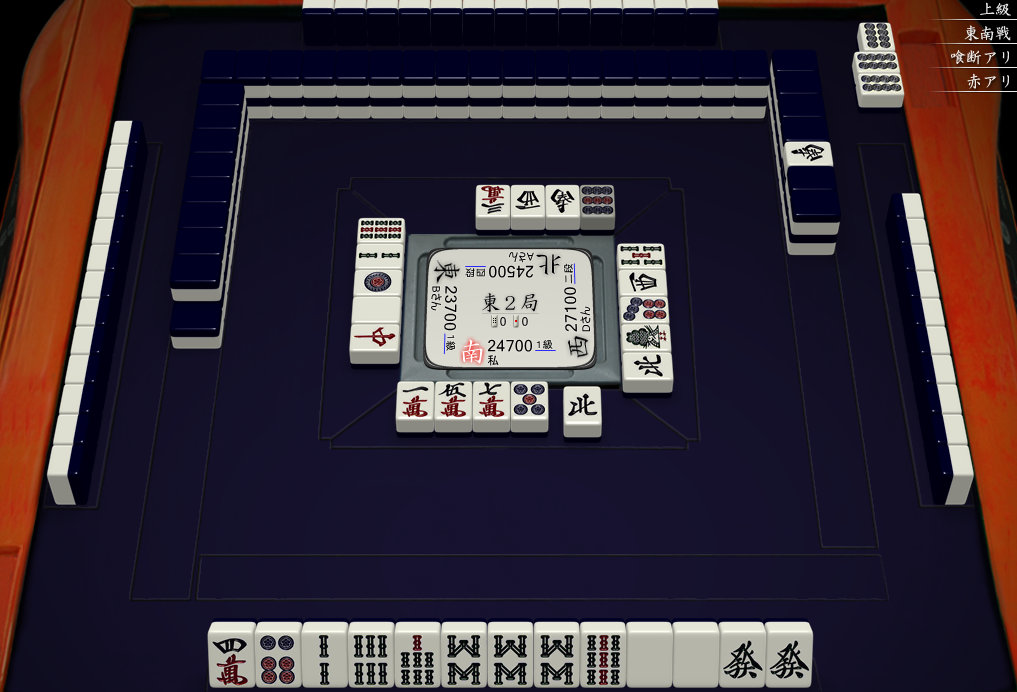
At this point you have already decided what you are going for. Keeping the not only gives ways to improve your hand but keeps a level of safety in case you have to give up on the hand. Throw the  here.
here.
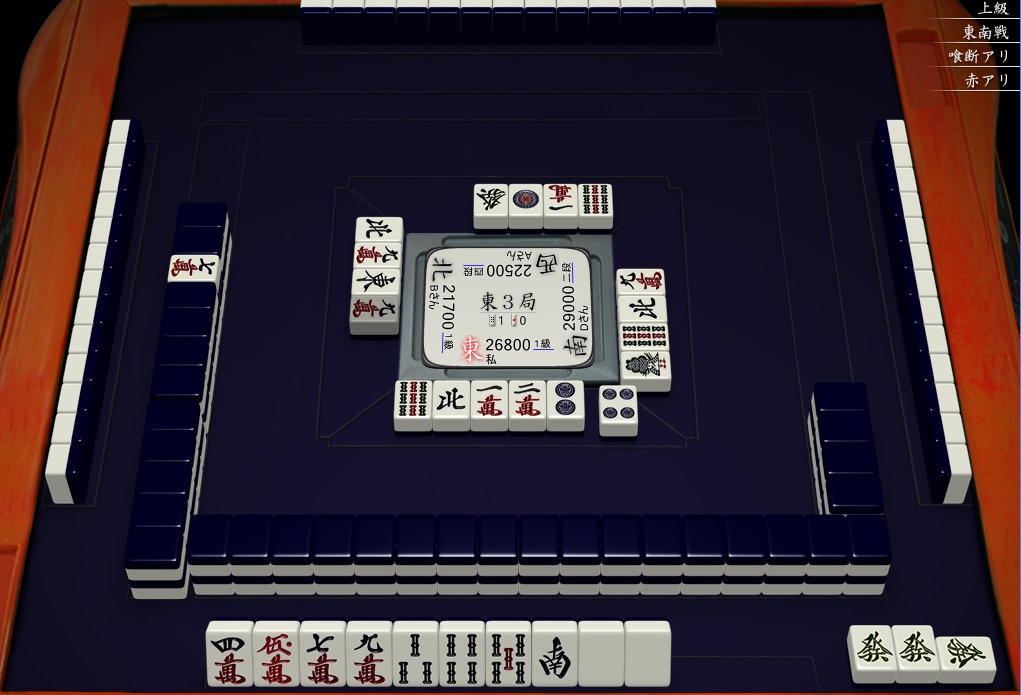
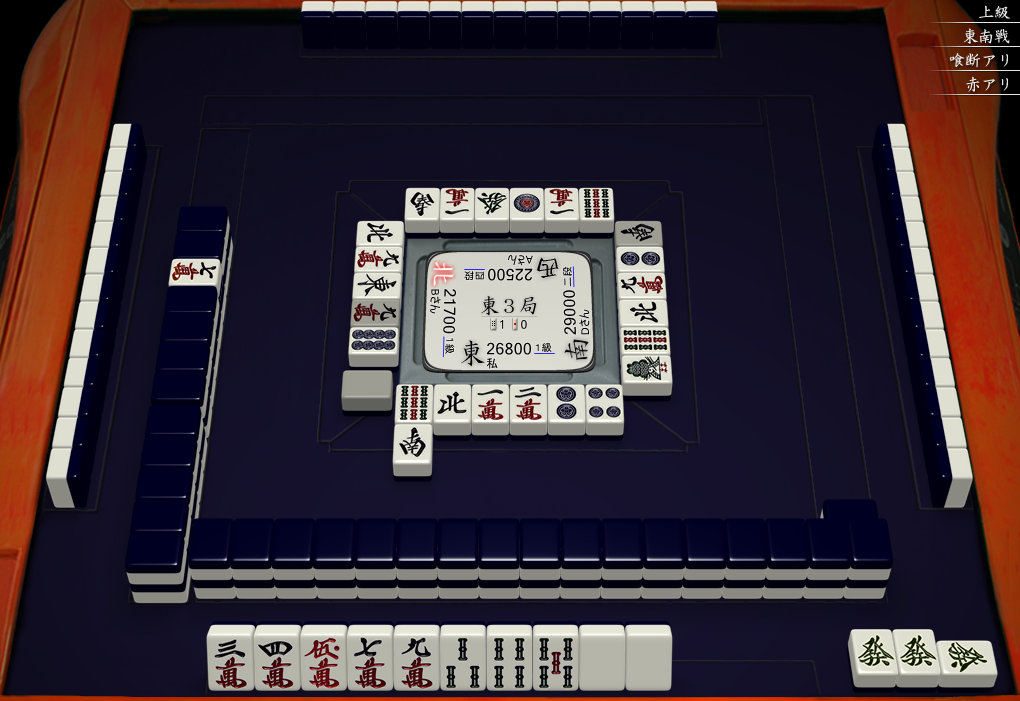
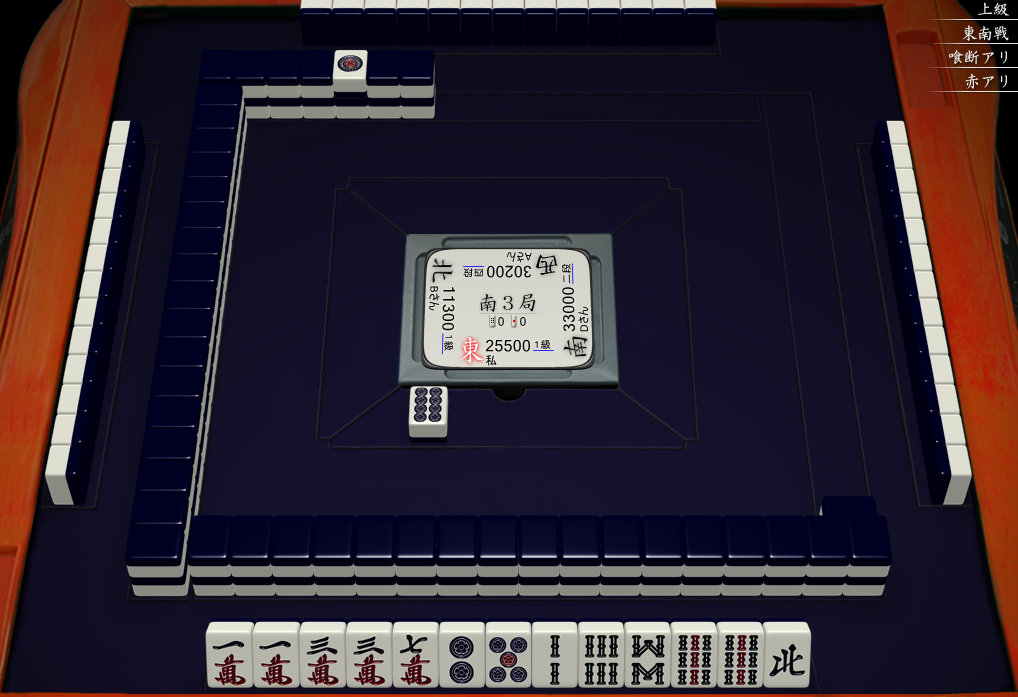
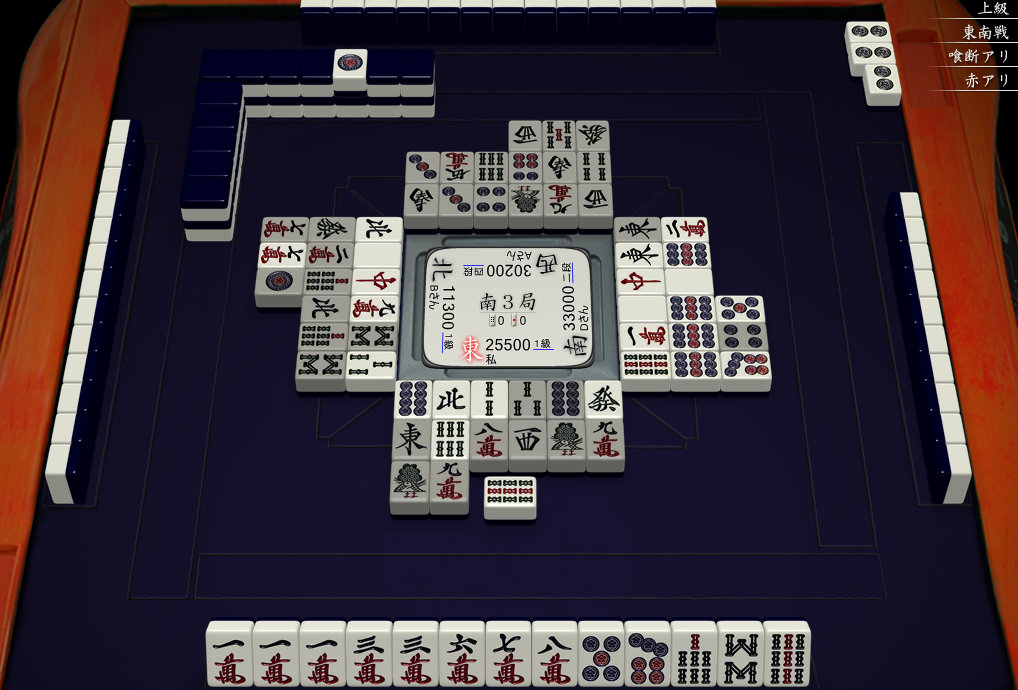
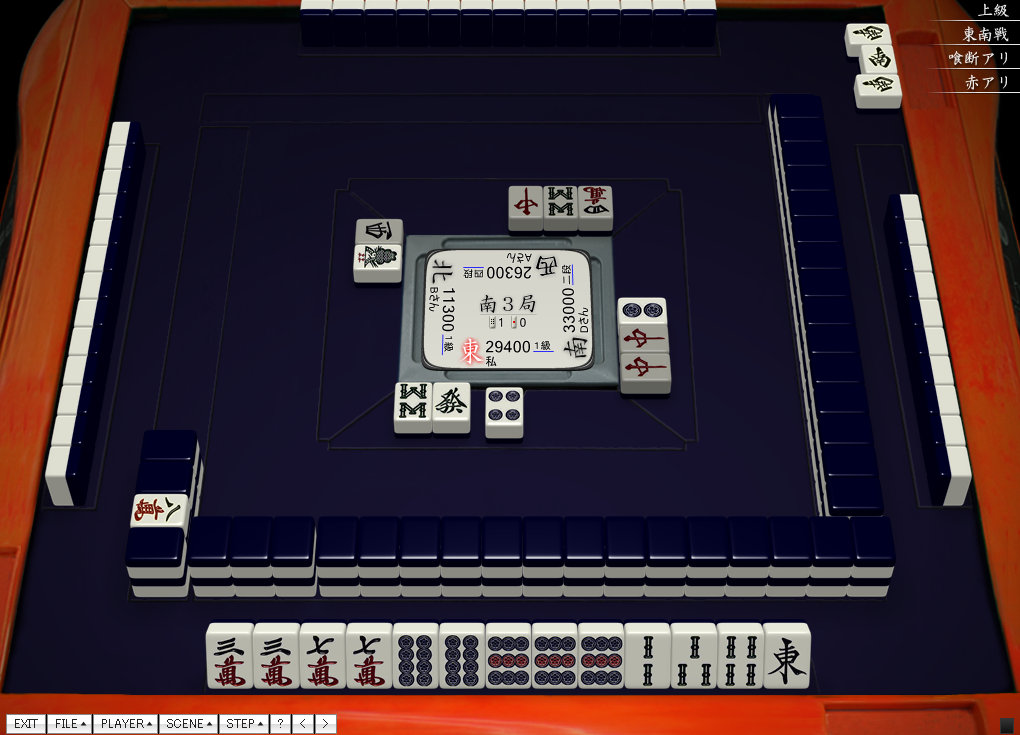
E3-0
While the 

 shape is very weak, you still have a possible 789 sanshoku here. At minimum throw the first as it does nothing for the hand.
This is a good discard. There is no reason to hold onto the red  that doesn’t fit into the hand. Taking iishanten here especially as dealer is important. It works out nicely a few turns later.
E3-1
There is no reason to keep the  over the
  at this point. It is too early to worry about safety when you don’t even know your pair for sure (as you might pon
  ) so keep more options open to improve the hand for now.
The pon is fine as it will allow you to switch your wait to something other than dora  , but you should throw
  as the tanki is a dead wait.
E4-0

While this discard is probably safe against the riichi, you have a completely safe tile against both the riichi and the dealer,  . There is no reason to take any risk as this hand likely won’t finish without an draw. It is time to give up.
S1-0
While the  doesn’t look particularly safe against someone with two wind calls, it is too early to worry about it and keeping it around basically destroys the hand as you may not be able to throw it later. In addition, the is a really good tile to keep around as it improves your shape in man and allows you to accept dora.
You are breaking up one of your five blocks for no reason here. Throw the for now and see if you can get to 678 sanshoku by pairing up or  . Even if you go for a cheap hand you need to keep the as you may end up on a
  wait if you draw
  , not to mention a draw like
  makes this hand reasonably good very quickly. Normally the discard from the player with two wind calls would set off alarms but since two of them just came out, it just means that he was keeping it around in case it paired up.
Now that he has called three times it is time to give up. You are still pretty far away and he is probably tenpai with sou honitsu or toitoi and you have no idea where any of the dora are. Just throw the and plan to toss the three afterwards. He actually had absolutely nothing, but you don’t know that and don’t have nearly enough to fight right now.
S2-0
This is a messy hand, but it is a good chance to cut one of the penchan. You can read the shape as + and it should be pretty clear that the  is a weaker shape. There is a very slight chance to pull a 678 sanshoku so keep the over the . You can even consider throwing the dora here if you just want to go fast, but with no value and bad shapes keep it around for a while longer.
Here is where that discard really backfires. You would have the option of tenpai or improving the shape, but as is this hand is just bad. It is time to throw the dora as dealer is starting to get close to tenpai and your shapes are still pretty bad, but at least you can call the and have a chance at fighting back. If you noticed, the player across from you seems to have left.
S3-0
There isn’t much you can do with this hand for now, but if you do end up using the dora  you don’t want to commit to using the over in case you draw . Throw the for now.

Throw the  for now. The still has a lot that can connect to it and there is even an outside chance for junchan and/or 123 sanshoku with some good draws. There is no reason to slow this hand down more than it already is.
After the dora call, I prefer dama this late. Normally a dealer riichi is fine, but no one is going to fold here and you may end up putting yourself in a position to drop to last in S4 with little payoff. Just getting tenpai payments is good enough for this since it is so late in the hand.
S3-1
Discard the  for now. connects to far too much. By throwing the you are basically committing yourself to a sanankou hand and you are giving up a lot of flexibility to lock in bad shapes. It ends up working anyway, but keeping the around longer still would have given the same result, but with more other paths for the hand to advance.
S3-2
There are so many bad shapes here it is time to cut them down. While ittsuu looks tempting, it won’t really fit in with the rest of the hand and still use the double dora  . Throw the
  for now and try to shift to tanyao. All of
 will likely end up being thrown by the time you make this hand into something worthwhile, but due to the overlap with the block, the should go first.
S4-0
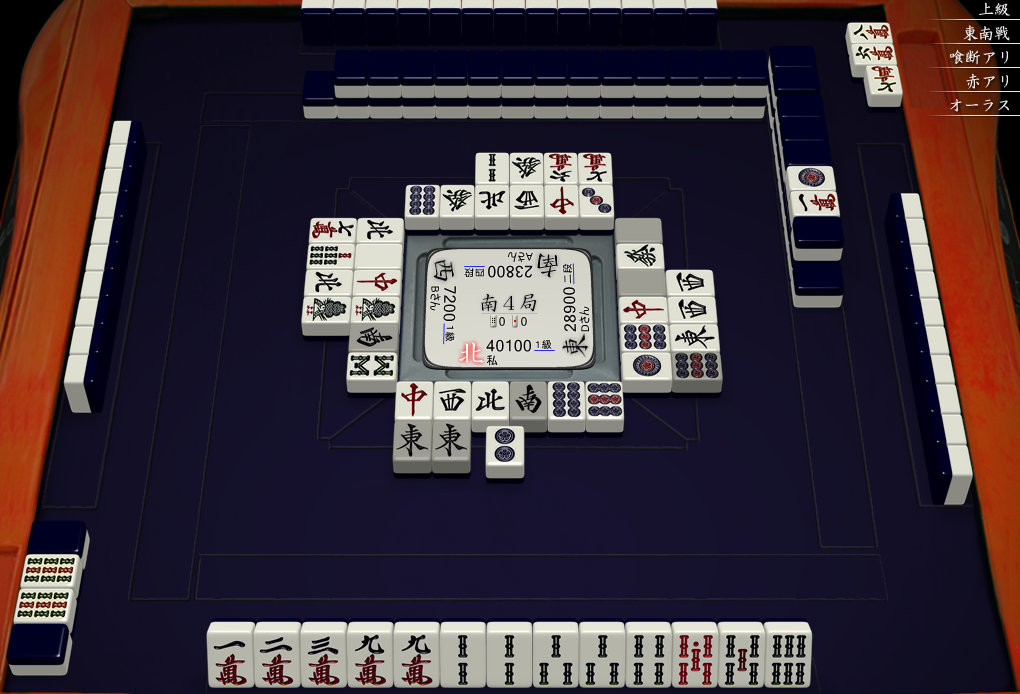
Feeding the dealer here is really dangerous, but there are no real signs of danger as he is still cutting winds more than halfway into the hand. Considering how slow his hand looks, throw here and force him to make it to tenpai on his own. If dealer is noten at the end of the hand it is just as good as you winning.